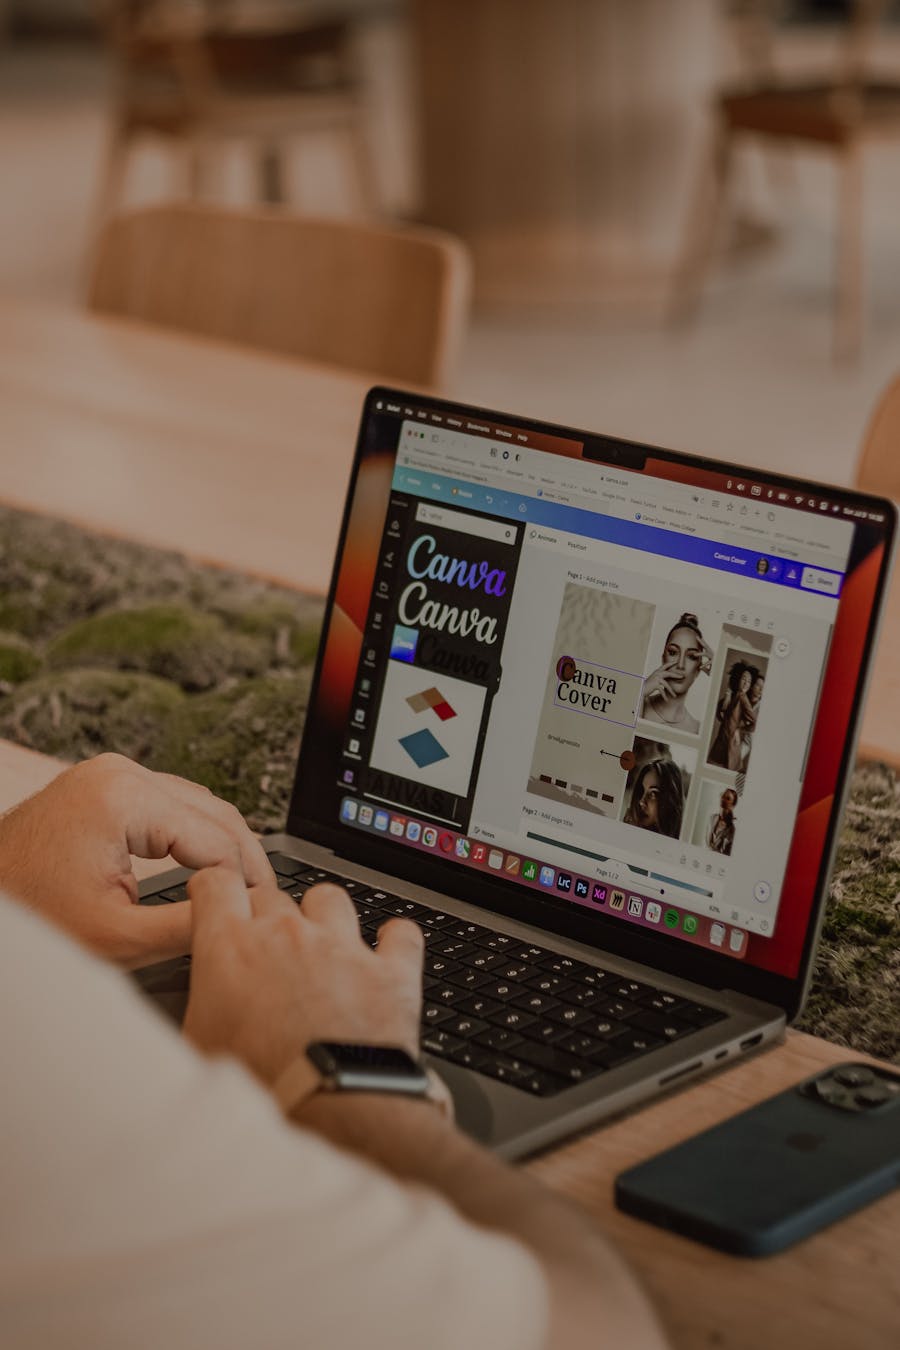
Canva Rescue Missions: How to Get Pro Results (Even If You’re Not a Designer)
Let’s be honest – Canva is the unsung hero for many marketers, start-ups and small businesses. You can bash out everything from business cards to banners without ever opening InDesign or shelling out for a pro designer. But what happens when Canva’s cheerful templates descend into chaos – stretched logos, dodgy colours, text that’s been flung to the corners like confetti after a Friday night? Enter the Print Lord.
Here at Print Lord, we see more than a few panic-laden Canva files: “Can you fix this?” “Why does it look blurry when I send it to print?” “Is Comic Sans ever legal?” The good news is, you can get professional-looking results from Canva, and avoid the pitfalls that catch even seasoned marketers. Here’s how – no design degree required.
#### 1. Start with the End in Mind
Before the first click, know your final format. Are you printing flyers, business cards, stickers, signage or something else? Canva’s default canvas sizes are optimised for screens, not print, so always select your right format or input custom dimensions in millimetres. Want crisp, pro-level results? Set your design up at full print size, at 300 DPI, with bleed where possible.
Print Lord Tip: If you’re unsure, send us your specs early. We’ll advise before you commit to a rabbit hole of resizing.
#### 2. Bleed and Safe Zones: They Matter (Promise)
That tiny red margin Canva sometimes shows? That’s your bleed – and it’s more than just a technical fuss. Bleed makes sure your lovely background colour or photo prints edge-to-edge, even if the guillotine’s a whisker off-line. Always extend your background past the page edge. Keep all crucial text, logos, and details well inside the safe zone – about 5mm in from the edge.
#### 3. Quality in, Quality Out
The crisp photo you see on your screen isn’t always the one you’ll hold in your hands. Always use high-resolution images – 300 DPI at the size you’ll print is your golden rule. Avoid dragging in screenshots or low-res web images; they’ll look fuzzy in print, however they shine on your monitor. Canva has some great in-built stock, but check file sizes if you’re uploading your own artwork.
Print Lord Reality: If you spot a warning triangle (“low quality image”), don’t ignore it – it’s the file screaming for help!
#### 4. Keep It on Brand (and Legible!)
It sounds obvious, but in the heat of creativity people often grab whatever’s at hand: a splash of orange there, some script font here. Consistency is central to looking professional. Use your business fonts and colours throughout. If you haven’t set up a brand kit in Canva, pause and do it now. Avoid font overload – two styles max is a good rule of thumb for most designs.
Don’t shrink your type to fit more in. Busy, cramped layouts get binned faster than you can say “unreadable”.
#### 5. Export Like a Pro: The Right File, the Right Way
Canva lets you export in multiple formats, but for professional printing, PDF (Print) is king. Make sure to tick “Crop marks and bleed” when exporting. If you’re sending files to Print Lord, always choose PDF/X or Canva’s highest-quality print PDF.
Don’t export as JPG/PNG unless it’s specifically for web/social use – print wants sharp, vector-based files when possible.
#### 6. Proof (and Proof Again)
You’d be amazed how often a stray typo, wrong phone number or blurry logo slips through. Step away for a cuppa, then proof again at 100% zoom. If it’s for an event, triple-check dates and times. If it’s mission-critical, we’re always happy to cast an expert eye over your artwork before it goes to press – just send it over.
#### 7. When to Call for Backup (and Why It’s Not Defeat)
Even the best Canva jockeys hit a wall. Maybe you’ve mashed a dozen templates into a Frankenstein’s Monster, or you realise your logo fell off the edge. Don’t panic! At Print Lord, artwork rescue isn’t a one-off service – it’s a regular adventure. From quick tweaks to full-on rebuilding, we’re here to ensure what lands on paper does justice to your business.
#### Real Stories from the Print Lord Realm
We’ve had clients come to us with collapsing leaflets hours before a launch and watched their relief as we sorted margins, tweaked colours, and conjured up a professionally printed batch, drama-free. No shame – just another day at the print palace.
#### Why Your Print Partner Matters
Printing isn’t a guessing game. When you work with Print Lord, you get real human advice (no dodgy online calculators, no blank-faced portals). Whether you’re a Canva novice or a seasoned marketer who should know better (we see you), we’re ready with solutions, fixes, and – when needed – a little royal design magic.
In summary:
– Set up files carefully, with the right size and bleed
– Use only hi-res images
– Stick to your brand styling
– Export as print-ready PDFs
– Proof before printing
– Don’t hesitate to ask for help
Canva is brilliant – but Print Lord is your secret weapon when you want the job done right. Next time Canva throws you a curveball, just send up the flag.
Need help with a Canva mishap right now? Or want a file sanity-checked before it goes live? Get in touch with Print Lord – there’s no artwork drama we can’t handle.