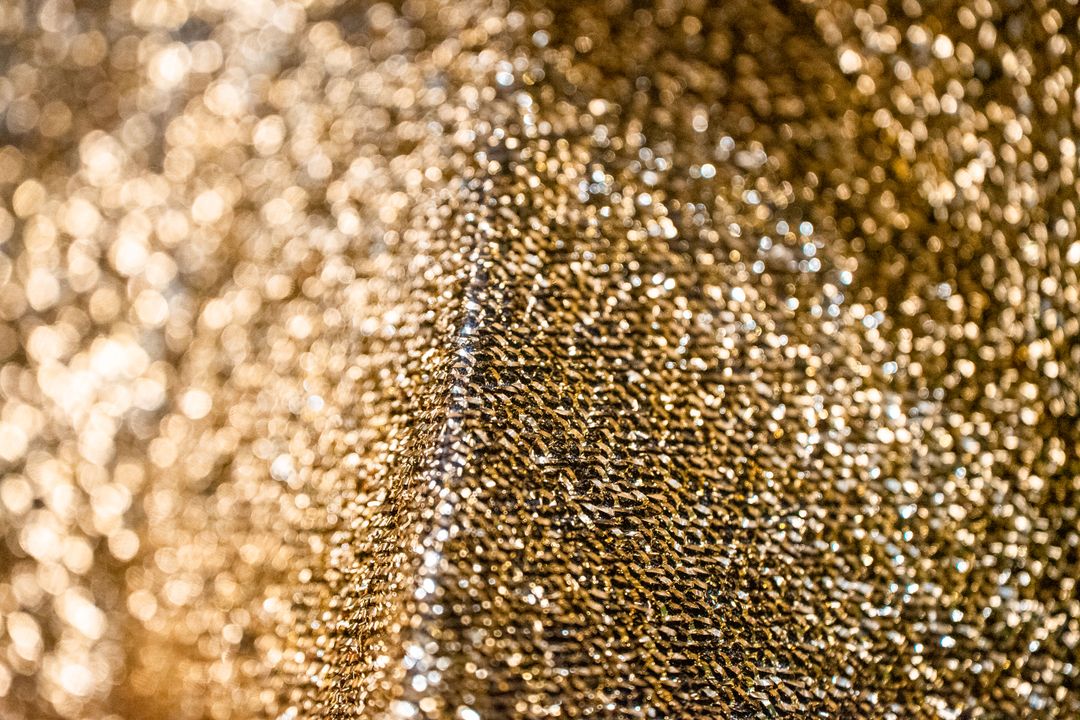
In an era where digital content flashes past eyes in fractions of a second, physical print holds a unique and powerful advantage: tactile engagement. When a prospective client holds a piece of print, they are not merely viewing a message; they are experiencing it through touch. The texture of the paper stock, the weight of the card, and the subtle light reflection off a specialist finish all communicate silent clues about your business standards, craftsmanship, and authority.
While standard high-quality printing on premium stock creates a reliable foundation, special print finishes elevate ordinary materials into extraordinary, luxury brand assets. Finishes like metallic foil stamping, embossing, debossing, and spot UV varnish transform flat graphics into multi-dimensional physical experiences. They demand attention, create a royal and majestic impression, and leave lasting memories in the mind of the recipient.
Understanding how to choose, combine, and prepare artwork for these finishes allows business owners, designers, and marketing teams to work smarter with print. Here is your essential guide to the most impactful special print finishes, how they work, and how to use them to command complete attention.
The Sensory Power of Tactile Print
Human psychology is wired to associate physical weight, texture, and visual depth with quality and trust. When print feels substantial and visually dynamic, the perceived value of the offering increases immediately. Cheap, flimsy, flat paper suggests a temporary, disposable business. Conversely, crisp embossing or gleam from a metallic foil stamp signals permanence, attention to detail, and pride.
Special print finishes act as visual and physical anchors. They draw the eye directly to critical brand elements, such as your logo, headline, or emblem, while creating a distinct sense of touch that digital screens can never replicate. By introducing tactile elements into your marketing suite, whether for corporate brochures, business cards, event invitations, or luxury packaging, you ensure your brand is not just seen, but remembered.
1. Foil Stamping: Metallic Brilliance and Regal Authority
Foil stamping, often called hot foil stamping, is the process of applying a thin layer of metallic or pigmented foil to paper using heat and pressure. A custom metal die is engraved with your design, heated, and pressed against the paper with the foil sandwiched in between. The result is an opaque, crisp finish that catches the light brilliantly.
Popular Types of Foil
- Metallic Foils: Gold, silver, copper, and bronze remain the ultimate choices for creating a majestic, premium impression. Gold foil on dark navy or deep black card stock conveys immediate prestige and authority.
- Pigmented Foils: Available in solid gloss or matte colours, such as deep crimson, forest green, or stark white, providing high-contrast color depth that standard inks cannot achieve.
- Holographic Foils: These refract light into a rainbow spectrum, ideal for modern brands, security elements, or eye-catching event passes.
Best Uses for Foil Stamping
Foil stamping works exceptionally well on logos, borders, monogram crests, and key headlines. Because the foil is completely opaque, it can be applied over dark, uncoated stocks where traditional printed ink would simply sink in and lose vibrancy.
2. Spot UV Varnish: High-Gloss Contrast and Subtle Elegance
UV varnish is a clear, liquid coating applied to paper and cured instantly using ultraviolet light. While a full flood UV coating covers an entire page for general protection, Spot UV is applied selectively to specific areas of your design.
How Spot UV Creates Impact
The true magic of Spot UV lies in contrast. When applied over a smooth matte or soft-touch lamination, the high-gloss UV element creates a striking visual and physical duality. The matte background absorbs light softly, while the Spot UV areas reflect light sharply, popping off the page.
Raised Spot UV (3D Digital Varnish)
Modern digital finishing techniques allow for raised Spot UV, where building up layers of clear polymer creates a three-dimensional, dimensional texture. Running a thumb over a raised Spot UV pattern or logo offers a satisfying tactile experience that feels bespoke and engineered.
Best Uses for Spot UV
- Subtle background patterns, such as watermarks or repeating brand motifs, that only catch the light when the card is moved.
- Emphasising photography, product images, or bold typographic logos.
- Creating contrast on dark or black designs without introducing additional colours.
3. Embossing and Debossing: Sculpting Paper for 3D Depth
Embossing and debossing alter the surface of the paper stock itself by physically reshaping the fibres.
- Embossing: Raises the selected area of paper above the surface, creating a 3D image that stands out towards the reader.
- Debossing: Presses the selected area down into the paper stock, creating a crisp, indented impression.
Both processes rely on custom metal dies, a male and female die for embossing, and a single die for debossing.
Blind vs Registered Embossing
- Blind Embossing/Debossing: Applying the technique to blank, unprinted paper. This relies entirely on light, shadow, and texture to display the design, producing an exceptionally clean, understated, and royal appearance.
- Registered Embossing: Aligning the embossed shape perfectly over a previously printed image or foil stamped detail, giving the printed graphic actual physical volume and lift.
Best Uses for Embossing and Debossing
Heavyweight paper stocks (300gsm to 600gsm+) are required for optimal embossing results. It is perfect for corporate crests, letterpress style stationery, luxury business cards, high-end report covers, and certificate seals.
How to Prepare Artwork for Special Print Finishes
To achieve flawless results on press, artwork for special finishes must be prepared accurately during the design stage. Mistakes in artwork setup can lead to misaligned dies, blurred details, or production delays.
- Use Vector Files Only: Special finishes require sharp, clean vector paths (created in Adobe Illustrator or similar design software). Bitmap images or JPEGs cannot be used to make foil dies or spot UV screens.
- Create a Dedicated Spot Colour Layer: Place your special finish elements on a separate layer in your artwork file. Assign a distinct, solid spot colour (for example, 100% Magenta or 100% Cyan) to represent the foil or spot UV area, and name the layer clearly (e.g., “Foil_Layer” or “Spot_UV”).
- Set to Overprint: Ensure the special finish vector objects are set to “Overprint Fill” in your design software. This prevents the software from knocking out the background artwork underneath.
- Mind the Detail and Line Weight: Foil and embossing dies require minimum stroke weights (typically at least 0.5pt to 1pt). Intricate text that is too small or lines that are too thin can fill in or fail to transfer cleanly.
- Consider Paper Stock Selection: Soft, thick uncoated cards are ideal for deep debossing and hot foil, while smooth matte laminated stocks provide the perfect background contrast for high-gloss Spot UV.
Working Smarter with Print Lord
Navigating paper weights, die specifications, and finish combinations does not have to be daunting. At Print Lord, every job is treated with meticulous care and personal guardianship. We do not leave you to guess through an automated online portal. Instead, we review your artwork, offer expert guidance on stock selection, and ensure your finishes are set up for complete technical precision.
Whether you are designing a high-impact corporate brochure, luxury event invitation, or bespoke retail packaging, combining the right print finishes creates materials that project authority and stand out from generic competition.
Print Lord. At your service. On brand. On time.
printlord.co.uk