It is a scenario that has played out in almost every marketing and creative agency in the country. Your design team spends weeks perfecting a brand campaign. On the high-resolution, back-lit screens of your studio, the colours look spectacular. The electric blue hums, the neon pink practically leaps off the glass, and the client is absolutely thrilled with the PDFs you sent over for approval.
Then, the delivery day arrives. The courier drops off the printed brochures, the roller banners, or the custom exhibition materials. You open the box, and that vibrant, glowing electric blue has transformed into a somewhat muted, slightly muddy navy. The neon pink looks more like a standard, flat magenta.
The client is disappointed, your account manager is stressed, and the design team is pointing fingers at the printer.
At Print Lord, we see this exact issue happen all the time, particularly when busy agencies are juggling tight deadlines and multiple campaigns. It is not a failure of the printing press, nor is it a mistake by your designer. It is simply a fundamental translation error between two entirely different worlds of colour: RGB and CMYK.
To help you become your agency’s resident print expert, save time, and protect your clients from expensive reprints, we have put together this straightforward, jargon-free guide to understanding CMYK vs RGB.
The Screen World: Understanding RGB
Let us start with the colour space your design team lives in every day: RGB.
RGB stands for Red, Green, and Blue. This is an additive colour model, which is a fancy way of saying it relies on light to create colours. Your computer monitors, tablets, smartphones, television screens, and digital cameras all operate in RGB.
When you look at a screen, you are looking at millions of tiny pixels. Each of these pixels is made up of red, green, and blue light sources. By mixing different intensities of these three light colours, your screen can produce over sixteen million different shades.
When red, green, and blue light are combined at their maximum intensity, they create pure, bright white light. When they are turned off completely, you get pure black. Because the colours are created by glowing light, they have a natural luminosity. This is why a digital layout always looks incredibly bright, vivid, and punchy on your monitor.
The Physical World: Understanding CMYK
Now, let us step into the physical world of print, which is the domain of Print Lord.
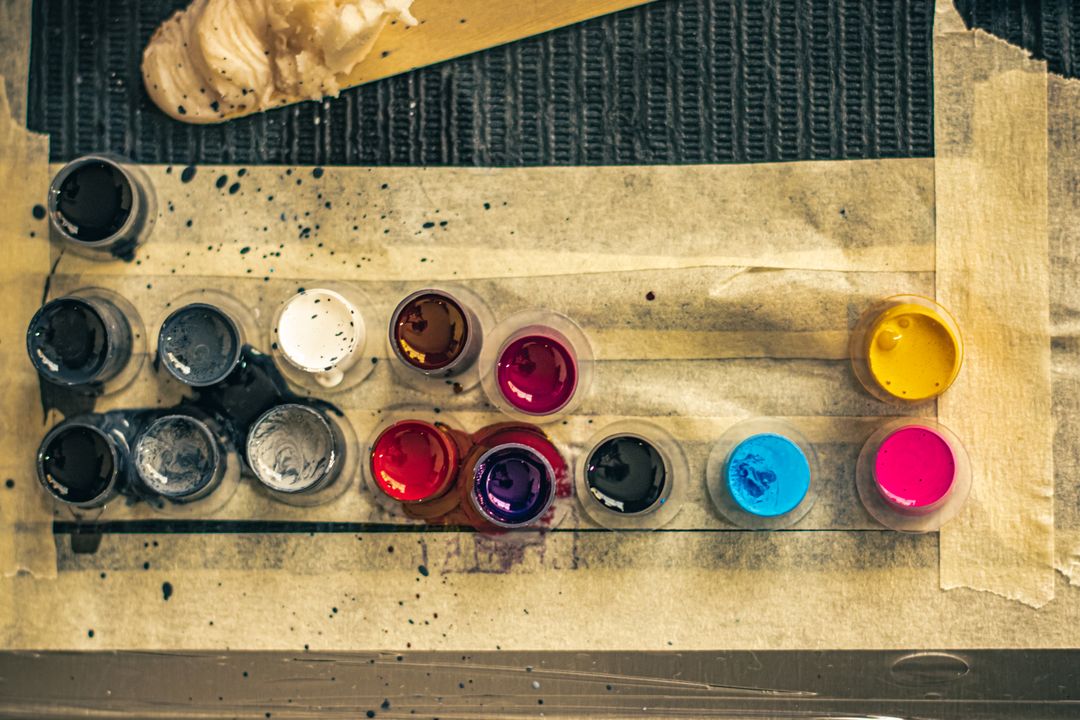
Print does not use light to create colour. Instead, it uses physical pigments, inks, and papers that reflect light. Because paper does not glow, we have to use a subtractive colour model known as CMYK.
CMYK stands for:
Cyan: A bright, greenish-blue.
Magenta: A deep, purplish-red.
Yellow: A bright yellow.
Key: This is printer speak for black. We use the letter K because black is the “key” plate used to align the other colours, and to prevent any confusion with blue.
When you print a document, a commercial printing press applies microscopic dots of these four ink colours onto the paper. When these inks mix together on the page, they absorb, or subtract, different wavelengths of light.
When you combine cyan, magenta, and yellow ink on paper at full strength, they create a dark, muddy brown. To get a true, rich black and to add depth and shadow to images, we have to add the fourth ink, the Key black. If you apply no ink at all, you are simply left with the colour of the paper itself, which is usually white.
The Great Translation Gap: Why the Colours Shift
The core problem is that the RGB colour spectrum is significantly larger than the CMYK colour spectrum.
Because RGB is created by glowing light, it can display incredibly bright, saturated, and neon shades that physical inks simply cannot replicate. Physical inks are limited by the laws of physics and the reflective properties of paper.
When you send an RGB file directly to a commercial printer, the printing software has to make a guess. It looks at those glowing, impossible RGB pixels and tries to translate them into the closest possible CMYK ink equivalents.
This process is called colour conversion, and because the RGB gamut is so much wider, the software has to compress the colours into the smaller CMYK gamut. The brilliant, glowing shades on your screen are automatically shifted to the nearest flat, physical ink shades. The result is often a loss of vibrancy, making your beautiful designs look dull and disappointing.
How to Prevent Colour Disappointment: Three Rules for Agencies
As a marketing agency, managing your client’s brand integrity is your top priority. You want to deliver campaigns that look premium and consistent across every touchpoint. Fortunately, preventing colour shifts is incredibly simple once you build a few basic steps into your design workflow.
#### 1. Set Your Colour Space Before You Start
The absolute best way to avoid colour surprises is to ensure your designers set their design software, such as Adobe InDesign or Illustrator, to CMYK mode from the very beginning of a print project. By designing in a CMYK workspace, the screen will show you a much more realistic preview of how the physical inks will look on paper. You will not accidentally choose neon shades that are physically impossible to print.
#### 2. Convert RGB Images Carefully
Most stock photography and smartphone images are captured in RGB. When your design team places these images into a print layout, they need to be converted to CMYK. Rather than letting the printer’s automated software make the conversion at the very last minute, convert them manually in Adobe Photoshop first. This allows your designers to adjust the contrast, saturation, and brightness of the image to keep it looking sharp and vibrant even in the smaller CMYK ink spectrum.
#### 3. Request a Physical Proof
If your client is incredibly particular about a specific brand colour, never rely on a PDF proof on your screen. PDF proofs are digital, meaning they will still glow in RGB light. For high-stakes campaigns, ask Print Lord for a physical printed proof. This gives you a tangible sample to check under natural light, ensuring everyone is happy before the final run goes ahead.
Master Your Print Preparation
Understanding CMYK vs RGB is just the first step in ensuring your agency’s creative work translates flawlessly from screen to page. There are several other critical factors, such as bleed, margins, and image resolution, that can make or break a campaign.
To help your studio team master the technical side of print, we have created a comprehensive, easy-to-understand resource: ‘The Complete Artwork Preparation Guide’. This cornerstone guide is packed with practical checklists and expert tips to ensure your artwork is always perfectly prepared for production, saving your agency time and avoiding costly reprints.
Partner with Print Lord for Drama-Free Campaigns
At Print Lord, we understand that agencies are under constant pressure to deliver beautiful, premium-looking campaigns on tight deadlines. We do not believe in faceless portals, rigid processes, or automated bots. Instead, we offer clear guidance, hands-on support, and honest advice to make print buying completely stress-free.
If you are reviewing your current print suppliers or looking for an ally who will proactively guard your brand integrity, consolidating your print purchasing into one reliable online partner can save significant time and hassle on your future campaigns.
Print Lord is always at your service, on brand, on time. Visit our shop at shop.printlord.co.uk to explore our core products, or get in touch directly to discuss your next bespoke agency project.