Size Matters: Why A6 Must Be A6, Not ‘Roughly That’
Print Lord has reprinted more jobs than we care to count because someone designed at ‘roughly A5’ or ‘about A4’. Not exactly A5. Not quite A4. Close enough, they thought.
It was not close enough.
Print works in standards. A6 is 105mm x 148mm. A5 is 148mm x 210mm. A4 is 210mm x 297mm. These are not suggestions or approximations. They are precise dimensions that commercial printers, paper suppliers, and finishing equipment all work to.
If your file is 150mm x 200mm and you want A5, it has to be resized. That affects your bleed, your margins, your image quality, and your layout. What looked perfect at your custom size might fall apart when it is adjusted to the actual standard.
This is not Print Lord being picky. This is how print works. Let us explain why size precision matters, what goes wrong when you guess, and how to get it right in Canva every single time.
Why Standard Sizes Exist
Standard print sizes are not arbitrary. They exist because the entire print industry, paper manufacturing, and finishing equipment all work to these dimensions.
Paper mills produce sheets in standard sizes. Guillotines are set up for standard cuts. Envelopes are designed for standard formats. If you design at a non-standard size, you are creating extra work, extra cost, and extra opportunities for things to go wrong.
Print Lord can print custom sizes. We do it regularly. But custom sizes mean custom pricing, custom setup, and often more waste. For most print projects, standard sizes are cheaper, faster, and more reliable.
More importantly, standard sizes work. They fit through letterboxes. They sit properly on noticeboards. They stack neatly on counters. They feel right in the hand because people are used to them.
When you design at a custom size that is close to a standard size, you are creating problems without gaining any benefit. You are making life harder for yourself, for Print Lord, and for the end user who receives the print.
The Most Common Standard Sizes in UK Print
Let us define the sizes Print Lord works with most often. Learn these. Use these. Your print projects will be smoother for it.
A6: 105mm x 148mm
Postcard size. Perfect for flyers, promotional cards, small handouts. Fits through a letterbox, sits in a pocket.
DL: 99mm x 210mm
The long, thin format. Designed to fit in a DL envelope. Ideal for letters, invitations, compliment slips.
A5: 148mm x 210mm
Half of A4. Popular for flyers, small posters, event programmes, menus. Big enough to make an impact, small enough to be practical.
A4: 210mm x 297mm
The standard office size. Letters, brochures, posters, sell sheets. Everyone knows what A4 looks like.
A3: 297mm x 420mm
Double A4. Posters, menus, larger promotional materials. This is where you start getting serious visual impact.
A2: 420mm x 594mm
Proper poster territory. Shop windows, exhibitions, notice boards. Big enough to be seen from distance.
A1: 594mm x 841mm
Large format. Events, trade shows, building signage. This is statement print.
A0: 841mm x 1189mm
The big one. Exhibition graphics, large building signage. Not something you casually order.
These are the sizes that work. These are the sizes Print Lord prints hundreds of times every week. These are the sizes you should be designing to unless you have a very specific reason to go custom.
What Goes Wrong with ‘Roughly That Size’
Print Lord receives files every week that are almost standard sizes but not quite. 150mm x 210mm instead of 148mm x 210mm. 212mm x 300mm instead of 210mm x 297mm. Close, but wrong.
Here is what happens when your size is wrong:
The file has to be resized. That means your carefully planned layout gets adjusted. If you set up bleed for your custom size, it is now wrong for the standard size. If you positioned content based on your custom dimensions, it might now be too close to the edge or poorly balanced.
Image quality can suffer. Resizing can affect image sharpness, especially if the adjustment is significant. What was 300dpi at your custom size might not be 300dpi at the corrected standard size.
Your margins change. Safe areas you planned at your custom size are no longer accurate. Text that was comfortably inside the safe zone might now be too close to the edge.
Production is delayed. Print Lord has to contact you, explain the issue, wait for a corrected file or get approval to resize. That takes time, and time costs deadlines.
Costs can increase. If your custom size means we cannot impose your job efficiently on our press sheets, you pay for the waste. Standard sizes are priced for efficiency. Non-standard sizes are not.
All of this is avoidable. Design at the correct size from the start, and none of these problems exist.
The ‘Wrong Orientation’ Mistake
Orientation errors are another common problem Print Lord sees. Client orders A5, designs at A5 dimensions, but gets the orientation wrong. They design portrait when they meant landscape, or landscape when they meant portrait.
A5 portrait is 148mm wide x 210mm tall. A5 landscape is 210mm wide x 148mm tall. Same dimensions, different orientation, completely different design implications.
If you design an A5 landscape flyer and then realise you needed portrait, you cannot just rotate it. The layout will not work. Images will be cropped wrong. Text will not flow properly. You have to redesign it.
Print Lord catches orientation errors before jobs print, but catching them at the design stage is better. Check your orientation before you start designing, not after you have spent two hours on the layout.
How to Set Up Correct Sizes in Canva
Canva makes this straightforward, but you do need to know what you are doing. Here is how to set up standard print sizes correctly.
Step 1: Choose ‘Custom Size’ when creating a new design.
Do not pick a random template and hope it is the right size. Go straight to custom size.
Step 2: Enter the exact dimensions.
For A5 portrait, enter 148mm x 210mm. For A4, enter 210mm x 297mm. Get the numbers exactly right. Close enough is not good enough.
Step 3: Make sure you are working in millimetres, not inches or pixels.
Canva lets you choose units. For UK print, work in millimetres. It is more precise and it matches how Print Lord (and every UK printer) works.
Step 4: Add bleed if your design goes to the edge.
If you need bleed (and if you read the blog from 15th April, you know you do), add 3mm to each side. So A5 with bleed becomes 154mm x 216mm. A4 with bleed becomes 216mm x 303mm.
Step 5: Double-check before you start designing.
Once you have set your canvas size, check it. Make sure the dimensions are exactly right and the orientation is correct. Fixing this now takes five seconds. Fixing it after you have designed everything takes hours.
Get the size right at setup, and everything else follows correctly.
How to Verify Size Before Export
You have designed your flyer, poster, or brochure. Before you export, verify the size one more time. Print Lord recommends this check every single time, because size errors are so common and so easily prevented.
In Canva, click on ‘Resize’ or check your design settings. The dimensions will be displayed. Make sure they match exactly what you need.
If you are designing A5, the dimensions should say 148mm x 210mm (or 154mm x 216mm if you added bleed). If they say anything else, something is wrong.
If the dimensions are wrong, do not try to resize at the export stage. Go back, create a new document at the correct size, and rebuild your design properly. Resizing at export risks quality loss and layout problems.
Print Lord has received files where the client clearly checked the size at some point, realised it was wrong, and tried to fix it by resizing the export or the PDF. This does not work. It creates more problems than it solves. Get the canvas size right, design at that size, export at that size. Simple.
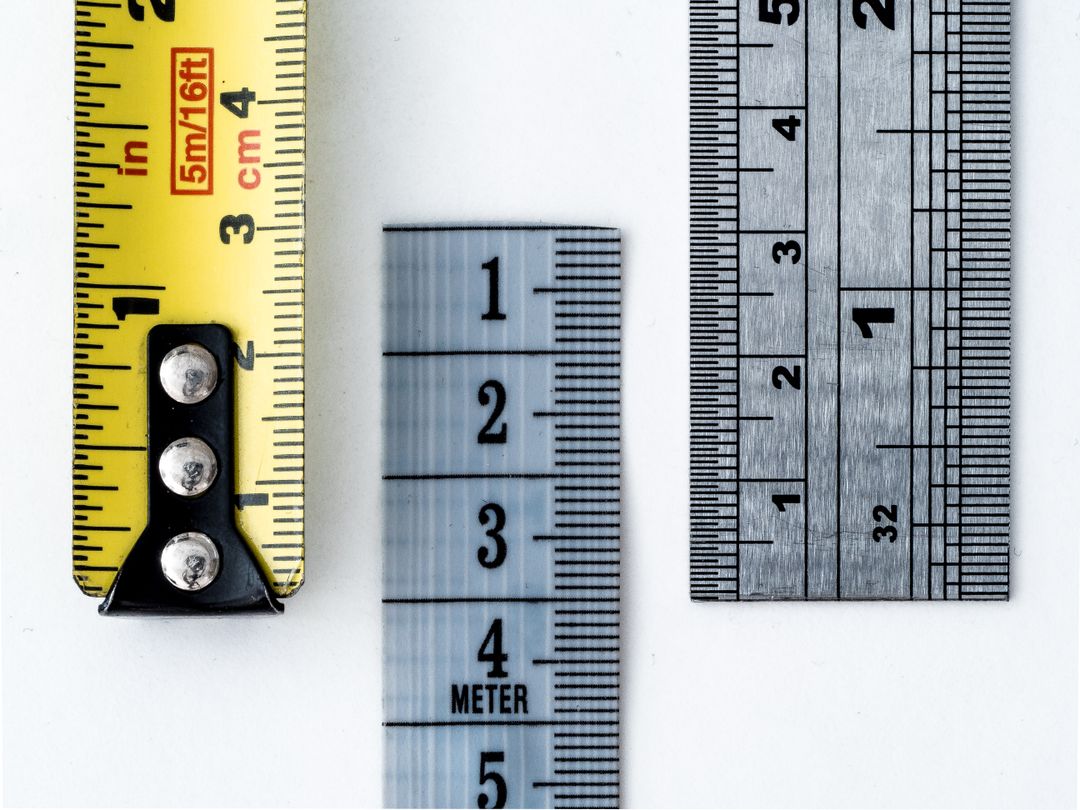
Why Printers Work in Millimetres, Not Approximations
Print is a precision industry. Guillotines cut to within fractions of a millimetre. Folding machines are set to exact dimensions. Envelopes are manufactured to standard sizes.
When Print Lord sets up a job, we work to the millimetre. The press is calibrated, the cutting is programmed, the finishing is planned. All based on exact dimensions.
If your file is not exactly the size you said it would be, everything has to be recalculated. That takes time, increases cost, and introduces risk of error.
This is not about being difficult. This is about how commercial print works. You would not tell a builder your room is ‘roughly four metres wide’. You would not tell a tailor your waist is ‘about 34 inches’. Precision matters in any trade that involves physical production.
Print is no different. A6 is 105mm x 148mm. Not 105.4mm x 148.2mm. Not 104mm x 147mm. Exactly 105mm x 148mm.
Custom Sizes: When They Make Sense (And When They Do Not)
Print Lord is not saying you can never use custom sizes. Sometimes custom sizes are the right choice. But they should be a deliberate decision, not an accidental mistake.
Custom sizes make sense when:
- – You need a specific size for a specific purpose (branded notepad that fits a particular holder, promotional item that matches existing packaging, etc.)
- You are designing for a non-print context first (exhibition graphics, vehicle livery, building signage) and standard sizes do not apply.
- You have a creative or branding reason to break from standard sizes, and you understand the cost and production implications.
Custom sizes do not make sense when:
- – You just did not know the standard sizes and guessed.
- You are ‘close enough’ to a standard size (just use the standard size).
- You are designing something that will be posted, handed out, or displayed in standard contexts (letterboxes, noticeboards, pockets, etc.).
- You want to save money (standard sizes are cheaper).
If you are not sure whether you need a custom size, you probably do not. Print Lord is always happy to advise on sizing before you start designing, especially for projects where size has cost or production implications.
Real Print Lord Horror Stories (Anonymised)
The Almost-A5 Flyer:
Client designed a flyer at 150mm x 210mm. Meant to be A5 (148mm x 210mm). Did not notice the error until Print Lord flagged it. Turns out they had added 2mm to the width instead of adding 3mm bleed all round. Had to redesign. Two-day delay.
The Portrait-Landscape Mix-Up:
Client ordered 500 A4 posters, portrait orientation. File arrived as A4 landscape. Everything had to be rotated and repositioned. The design did not work in portrait, so the entire layout had to be rebuilt. Three-day delay and a missed event deadline.
The ‘Close Enough’ Business Card:
Client designed business cards at 90mm x 52mm instead of the standard 85mm x 55mm. Print Lord asked if they wanted to resize to standard (which would fit wallets and card holders properly) or print at their custom size. They insisted on custom. Cards arrived, did not fit standard business card holders or wallets. Reprinted at standard size. Extra cost, extra waste.
The Mysterious Extra Millimetre:
Client designed at 211mm x 297mm instead of 210mm x 297mm for A4. Nobody knows why. Possibly a Canva glitch, possibly user error. Print Lord caught it, corrected it, job printed fine. But if we had not caught it, the job would have been trimmed incorrectly and content near the edge would have been cut off.
Every single one of these was avoidable. Check your size. Double-check your size. Design at the correct size from the start.
The Pre-Design Size Checklist
Before you start any print design in Canva, run through this:
What am I designing? (Flyer, poster, business card, brochure, etc.)
What size does it need to be? (A6, A5, A4, DL, custom, etc.)
What orientation? (Portrait, landscape, square?)
Does it need bleed? (If colour or images go to the edge, yes.)
What are the exact dimensions including bleed? (Write them down.)
Have I set up my Canva canvas correctly? (Check before designing.)
Answer those questions clearly before you start, and you will avoid the size mistakes Print Lord sees every week.
When Size Goes Wrong, Print Lord Catches It
Print Lord checks every file we receive. Size is one of the first things we verify. If your dimensions are wrong, we catch it and contact you before the job prints.
This is part of the Print Lord service. We are not just taking your order and hoping for the best. We are checking your work, catching errors, and making sure what prints is what you actually need.
But we would much rather you got the size right in Canva so we are just confirming quality, not rescuing disasters. It is faster for you, faster for us, and reduces the risk of deadline stress.
Learn the standard sizes. Set up your canvas correctly. Double-check before designing. Print Lord will still check it anyway, but you will have the confidence of knowing you got it right.
Why This Matters for Your Brand
Getting the size wrong is not just a technical inconvenience. It affects how your brand is perceived.
Print that is the wrong size looks unprofessional. Business cards that do not fit in wallets. Flyers that do not fit through letterboxes. Posters that are slightly too big or too small for standard frames or notice boards.
Your audience might not consciously notice the size is wrong, but they will notice something feels off. That is not the impression you want your brand to make.
Print Lord’s job is to make sure your brand looks exactly as you intended, every time. That starts with getting the basics right, and size is one of the most basic (and most important) fundamentals.
What Happens Next
You now know why size precision matters, what the standard UK print sizes are, how to set them up correctly in Canva, and how to verify them before export.
Tomorrow, Print Lord will cover CMYK vs RGB colour modes. We will keep it light and practical, not a technical lecture. You need to understand enough to avoid nasty surprises when your print arrives and the colours are not quite what you expected on screen.
But for today, commit this to memory: A6 is 105mm x 148mm. A5 is 148mm x 210mm. A4 is 210mm x 297mm. These are exact dimensions, not suggestions.
Printers work in millimetres, not approximations. Get the size right, and everything else gets easier.
Print Lord is here to check your work and make sure it is right before it prints. But the more you understand, the better your projects will be from the start.
On brand. On time. And exactly the right size.
Ready to make sure your next print project is the correct dimensions? Print Lord checks every file as standard. Get in touch and let’s get it right.